
Moderate
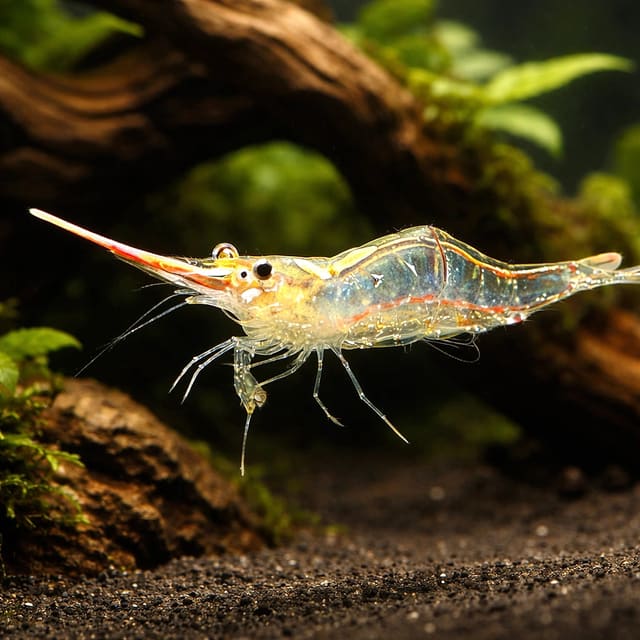
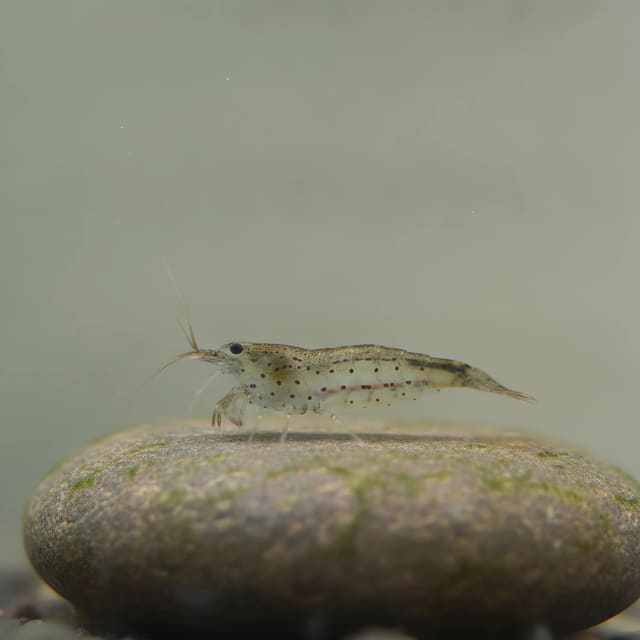
Amano Shrimp (Caridina multidentata)
£3.49
The Harlequin Sponge Shrimp (Caridina spongicola) is a freshwater atyid shrimp from Sulawesi, Indonesia, that reaches 1.27 cm. It suits keepers prepared for a mature, filtered aquarium; OATA’s freshwater shrimp guidance gives 17–27°C, pH 6.5–8.0 and 4–18°dGH. Sold individually as one live shrimp per purchase.
Water requirements for this listing are not yet confirmed. General care ranges are not a species-specific recommendation. Check temperature, pH and hardness needs with us before ordering.
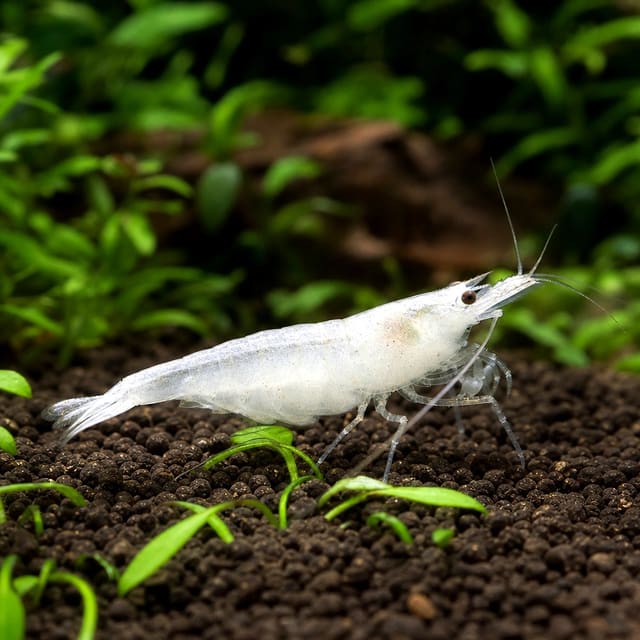
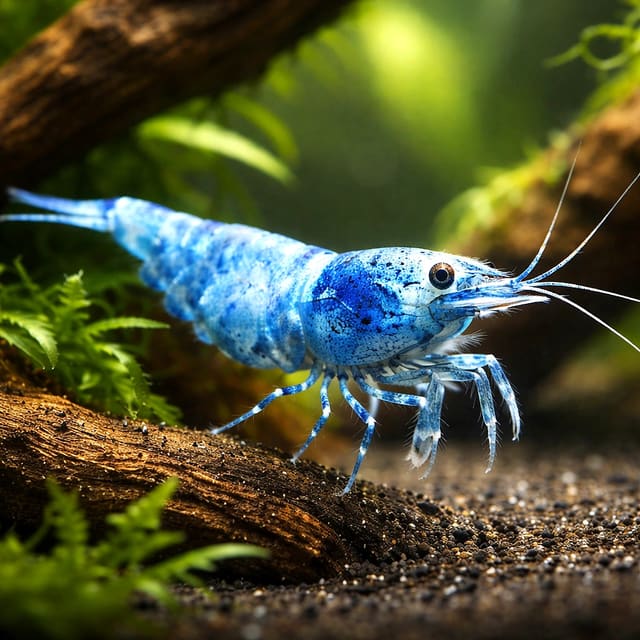
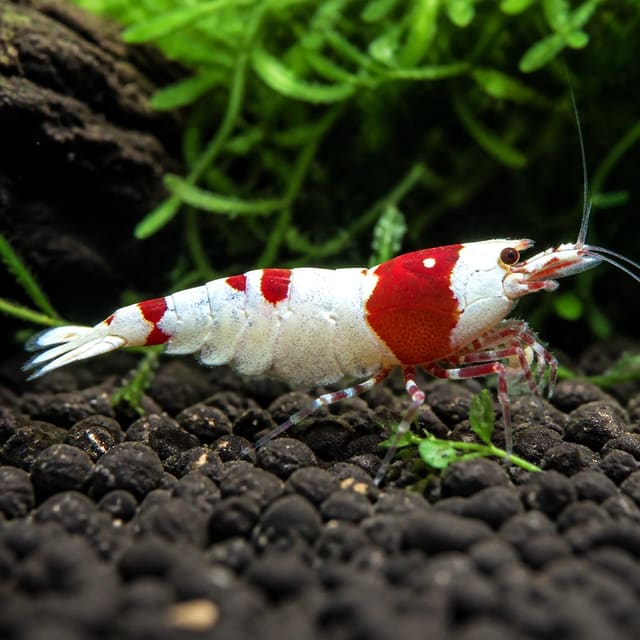
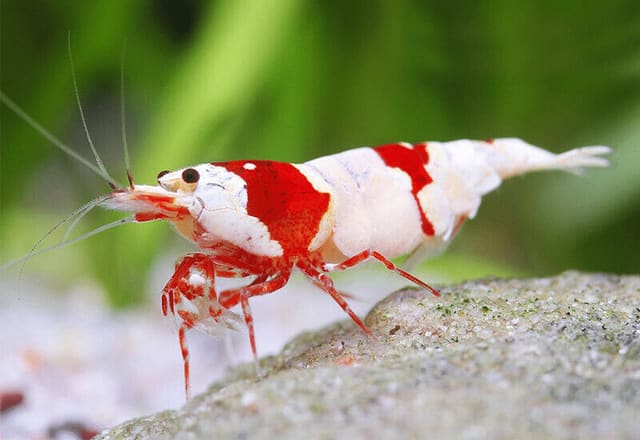
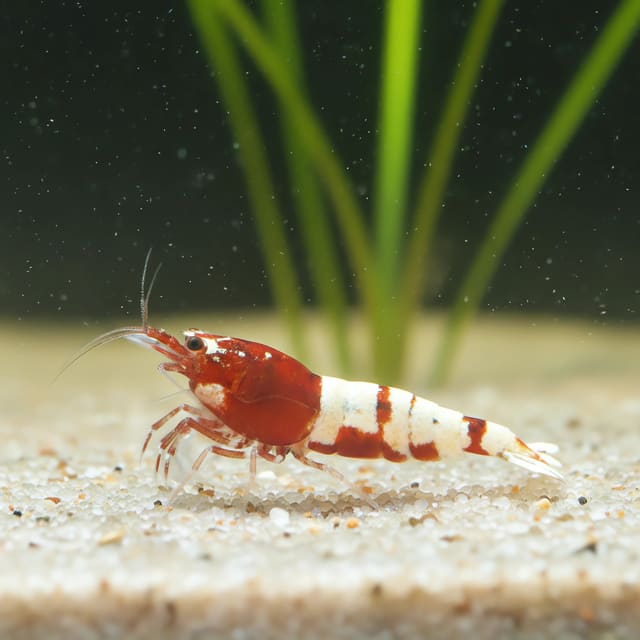
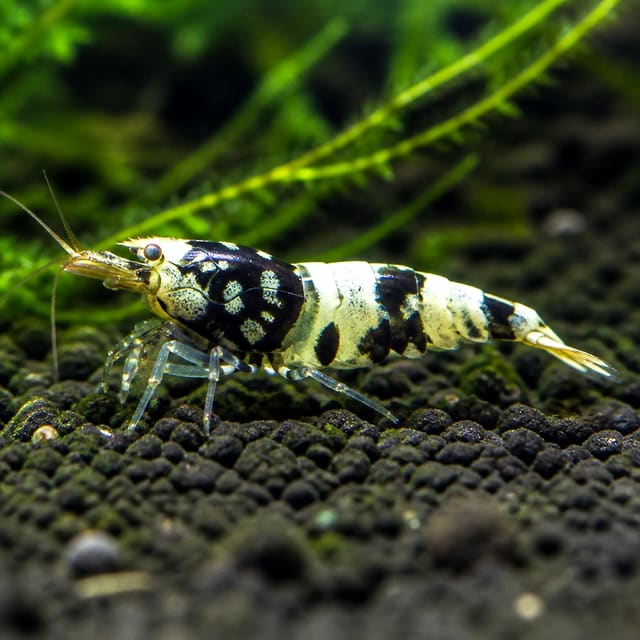
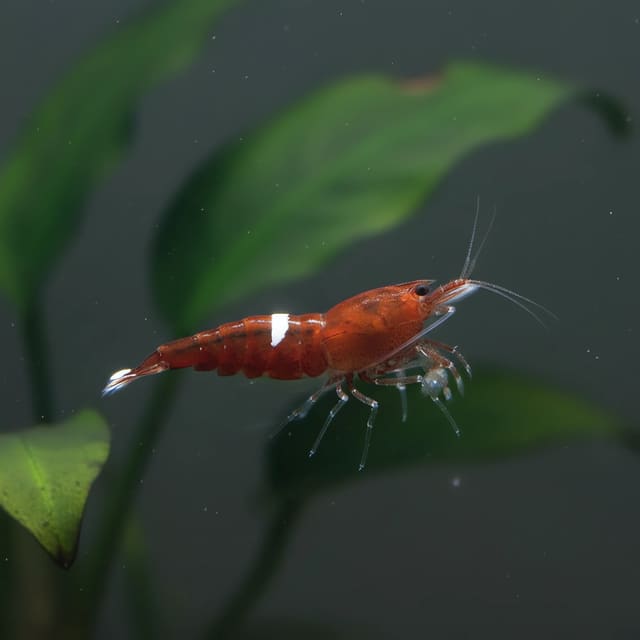
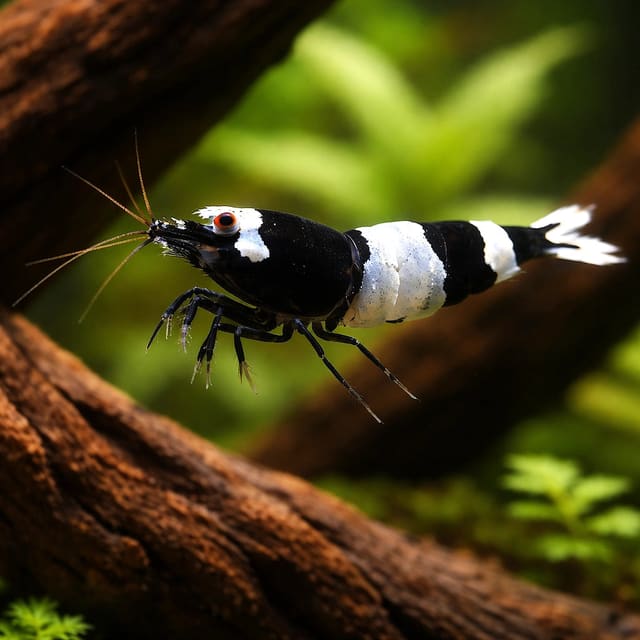
Adult size is the maximum length this species reaches at full maturity (scientific sources). The livestock you receive will be younger and smaller. Product-photo provenance and any image-specific limitations are stated on the listing.
Caridina spongicola
Choose a quantity for your aquarium. Discount thresholds are pricing offers, not a stocking recommendation.
The Harlequin Sponge Shrimp (Caridina spongicola) is a freshwater atyid shrimp from Sulawesi, Indonesia, that reaches 1.27 cm. It suits keepers prepared for a mature, filtered aquarium; OATA’s freshwater shrimp guidance gives 17–27°C, pH 6.5–8.0 and 4–18°dGH. Sold individually as one live shrimp per purchase.
Water requirements for this listing are not yet confirmed. General care ranges are not a species-specific recommendation. Check temperature, pH and hardness needs with us before ordering.
Adult size is the maximum length this species reaches at full maturity (scientific sources). The livestock you receive will be younger and smaller. Product-photo provenance and any image-specific limitations are stated on the listing.
The Harlequin Sponge Shrimp (Caridina spongicola) is a tiny freshwater crustacean in the Atyidae family. It comes from Sulawesi, Indonesia, and reaches 1.27 cm. This shrimp suits a keeper prepared to mature and maintain a filtered aquarium, test the water regularly and screen every companion for predation risk.
WoRMS recognises Caridina spongicola as an accepted species in the order Decapoda. Its aquarium trade names include Harlequin Shrimp, Celebes Beauty Shrimp and Sponge Shrimp. Harlequin Sponge Shrimp combines two of those trade names.
Wikipedia describes its natural history: in the wild, it lives strictly on an undescribed freshwater sponge. It is one of only two known commensal freshwater shrimp species. Keep and feed it as a grazing freshwater shrimp, not as a filter feeder.
This natural association makes accurate identity important. The same account notes that Caridina spongicola is often confused with Caridina woltereckae, which is larger and more contrastingly coloured. Plan this aquarium around the accepted identity, the 1.27 cm adult figure and careful freshwater-shrimp husbandry rather than using colour alone to identify an individual.
Small adult dimensions do not remove the need for stable water. A tiny body lives directly in the aquarium environment, so filtration, water testing, controlled feeding and protection from copper remain central decisions. Choose this shrimp because you can provide those conditions consistently, not simply because it occupies little physical space.
Keep the aquarium at 17–27°C, pH 6.5–8.0 and 4–18°dGH, with ammonia and nitrite at zero. OATA’s freshwater shrimp and snail sheet gives these figures as broad group guidance; treat them as planning limits rather than a species-specific optimum. It also recommends at least 10 litres for a group of small freshwater shrimp, and the aquarium will need to be larger when fish share the setup.
The aquarium must be mature, filtered and maintained consistently. Use sand or aquarium gravel, provide shelter, and include live plants where practical. When live plants are not used, add plastic plants and suitable ornaments such as model caves or plant pots for cover. Introduce livestock gradually so the biological filter can adjust to the extra waste and feeding.
| Suits | Not suited to |
|---|---|
| A mature, filtered freshwater aquarium | An unfiltered or newly established setup |
| Water kept at 17–27°C and pH 6.5–8.0 | Water with detectable ammonia or nitrite |
| A sheltered aquarium with sand or gravel | A bare setup without suitable cover |
| Careful feeding two or three times a week | Heavy feeding that leaves food to decay |
| Companions screened for mouth size and predatory behaviour | Predatory species or fish able to fit the shrimp in their mouth |
| Treatments clearly marked safe for invertebrates | Any exposure to copper, even at low levels |
A keeper who can meet the left-hand conditions has a workable starting point. If any condition on the right applies, correct it before introducing the shrimp. Stability is more useful than repeated large adjustments made after livestock has entered the aquarium.
This animal is sold individually: one purchase supplies one live Harlequin Sponge Shrimp. Plan the intended aquarium population before ordering because each purchase adds one animal and each addition increases the load placed on the biological filter. OATA advises increasing freshwater-shrimp numbers slowly so established bacteria can adjust as waste and feeding rise.
Sex is guaranteed only when the selected option explicitly states male or female. This Harlequin Sponge Shrimp listing has no sex-guaranteed option.
The adult planning figure is 1.27 cm. Do not use that small maximum as a reason to reduce filtration, water testing or shelter. Aquarium volume must support the whole planned group and every other inhabitant, not merely the physical length of one shrimp.
These checks turn a small purchase into a deliberate husbandry decision. They also help distinguish an aquarium that merely has enough room from one that can keep water quality stable. You can compare other livestock separately in our shrimp and crustacean collection, but never treat shared category placement as proof of compatibility.
Keep the water at 17–27°C, pH 6.5–8.0, general hardness of 4–18°dGH and carbonate hardness of 3–15°dKH. Test ammonia and nitrite until both read zero. Nitrate should not exceed 20 mg per litre above the normal level in your tap water.
Measure these values in the aquarium itself. Tap-water figures can help with preparation, but livestock experiences the conditions produced after water enters the tank, passes through the substrate and filter, and is affected by feeding and waste. Our water chemistry guide explains what the main measurements mean and why each one matters.
A reading inside one limit does not cancel a problem elsewhere. For example, a suitable temperature does not make detectable nitrite acceptable, and a suitable pH does not make copper exposure safe. Assess the complete set of conditions each time.
Avoid chasing a single number through repeated abrupt adjustments. Prepare replacement water before it enters the aquarium, use tap-water conditioner to remove harmful chlorine or chloramine, and check the result. A stable routine within the stated limits gives the filter and livestock a predictable environment.
If a reading changes unexpectedly, check recent feeding, livestock additions, filter flow and maintenance before making another change. These checks connect the result to a practical cause and reduce the chance of correcting one value while overlooking the underlying waste or filtration issue.
Use a working filter in every setup. OATA calls filtration essential for freshwater shrimp and explains that adding livestock too quickly can cause new tank syndrome when too few nitrifying bacteria are present to process the increased waste. Prepare the aquarium and mature its filter before the shrimp arrives.
The RSPCA explains the biological sequence: livestock waste releases toxic ammonia, beneficial filter bacteria convert it into nitrite, and further bacterial activity converts nitrite into the safer nitrate. Ammonia and nitrite are both toxic, which is why a clear-looking aquarium can still be unsuitable.
Our shrimp-keeping guide can help organise aquarium preparation and maturation before livestock enters. The goal is not simply to run equipment for a period of time; it is to establish biological processing that keeps ammonia and nitrite at zero under the aquarium’s real waste load.
Additions must remain gradual after maturation. Every extra animal and every increase in feeding creates more waste for the bacterial population to process. Pause further additions if ammonia or nitrite appears, and restore zero readings before increasing the load again.
Check the filter without destroying the bacteria it supports. A blocked filter needs attention, but filter media must not be run under the tap. Rinse it lightly in aquarium water removed during a partial water change so fewer beneficial bacteria are lost.
Plan for an adult length of 1.27 cm. Plan the aquarium and companions for the adult shrimp, whatever its size on arrival. Use 1.27 cm wherever an adult planning figure is needed, while recognising that aquarium volume must serve the whole population rather than one body length.
Use an aquarium of at least 10 litres for a group of small freshwater shrimp. Increase that volume when fish are included. OATA explains that the larger the aquarium, the more stable its temperature and water quality will be, so additional volume gives a practical stability margin even for a very small shrimp.
Freshwater shrimp species usually are social, so group planning should happen before livestock is added. Build the intended group gradually instead of adding the full population in one step. Slow additions allow beneficial bacteria to increase as feeding and waste rise.
A 10-litre aquarium does not suit an unlimited number of shrimp, and fish need a larger aquarium. It is a starting recommendation for a group of small freshwater shrimp. Filtration, water results, shelter and the total stocking plan still decide whether that particular aquarium is suitable.
Leave room for substrate, plants or ornaments without allowing decoration to replace usable water volume and maintenance access. You must still be able to siphon solid waste, inspect the animals, check filter flow and reach all areas where uneaten food could collect.
Feed two or three times a week. OATA’s freshwater-shrimp routine uses aquarium algae as grazing food, supplemented with algae wafers or commercial freshwater-shrimp pellets. Leave pellets or wafers for at least 30 minutes so the shrimp has time to feed.
Despite its wild home on a freshwater sponge, feed it as a grazing shrimp rather than a filter feeder. Use the stated freshwater-shrimp feeding routine and judge its results through food uptake, body condition and water quality.
Overfeeding creates a direct risk because uneaten food breaks down and releases toxic waste. If residue remains, reduce the next serving instead of shortening the shrimp’s access below 30 minutes. Test ammonia and nitrite when feeding has been excessive or food has decayed; both values must remain zero.
Use observed intake to refine the amount. Reduced intake or loss of interest in food is a health warning, while persistent leftovers indicate that the portion exceeds what the aquarium’s inhabitants are consuming. The correct amount is therefore tied to the actual group, not to a fixed quantity copied from another tank.
Algae in the aquarium provides grazing, but still supplement it with algae wafers or freshwater-shrimp pellets so the shrimp gets enough food. Conversely, supplementation does not justify heavy feeding. The practical balance is a controlled schedule, enough access time and no continuing build-up of uneaten food.
When the population changes, reassess the portion gradually. More livestock increases both consumption and waste, while fewer animals may leave the former portion untouched. Keep the feeding decision connected to the weekly water tests and the filter’s ability to maintain zero ammonia and nitrite.
Carry out a 25% partial water change at least once every week. Test the aquarium at least weekly and keep ammonia and nitrite at zero. Use a siphon where useful to remove solid waste from the gravel, and prepare replacement water with tap-water conditioner before adding it.
Use a 25% change for the weekly routine. Treat once a week as the minimum, not the limit.
Use our water matcher to compare measured aquarium values with the stated planning figures. Enter actual test results rather than estimates, and consider the complete profile instead of focusing on temperature alone.
If the filter needs cleaning, rinse its media lightly in aquarium water removed during the partial change. Do not run it under the tap because chlorine or chloramine may kill the beneficial bacteria established in the media. Preserve those bacteria while restoring flow.
Maintenance should remove waste without repeatedly resetting the aquarium. Clean only what needs attention, keep the biological media wet in aquarium water during routine work, and return the filter to operation promptly. After maintenance, confirm that equipment is functioning and that replacement water has not pushed temperature or chemistry outside the planned limits.
Review the notes from one week against the next. A rising nitrate trend, repeated leftovers, declining filter flow or changing behaviour is more useful when spotted early. Act on the cause—feeding, waste accumulation, filtration or stocking pace—rather than waiting for ammonia or nitrite to appear.
Do not expose this shrimp to copper. OATA states that freshwater shrimp and snails are very sensitive to copper and will die if exposed even to low levels. Check every treatment before use and ensure that it is marked safe for invertebrates.
This check applies to any product added to the aquarium. Do not assume that a treatment suitable for fish is suitable for shrimp. Read the product directions, identify its active ingredients and withhold it from this aquarium unless its use with invertebrates is clear.
Observe the normal pattern after the shrimp settles so a change has context. A single observation should prompt a check of water and equipment; a continuing or worsening change needs prompt attention. Test ammonia and nitrite, confirm temperature, inspect filter flow and review recent feeding or additions.
Contact us if you are concerned about a health change. Give the measured water values, recent maintenance, treatment history, feeding pattern and the change you have observed. Those details make the next decision more useful than a colour description on its own.
Do not respond to an unexplained symptom by adding a general fish medication. First protect the shrimp from copper and other products not marked safe for invertebrates, then correct any measured water-quality or equipment problem.
Follow the current Tropical Fish Co delivery and Live Arrival Guarantee policy from the moment the parcel is received. The animal is hand-bagged in pure oxygen and placed in an insulated poly box, with a heat pack used when the weather calls for it. Someone must be at the delivery address because live animals cannot be left unattended.
Prepare the aquarium before receipt rather than making water adjustments while the shrimp remains bagged. Before release, confirm that ammonia and nitrite both read zero, the temperature is within the planned range and the filter is running.
Release the shrimp only into a mature aquarium that already meets its planned conditions. Do not use arrival day to add several other animals or begin a large redesign. Every addition increases the biological load, while moving substrate or filter media can interfere with the stable environment prepared for the shrimp.
After release, observe activity, breathing effort, colour, hiding and feeding without using a treatment pre-emptively. If something looks wrong, measure the water and inspect filter operation. For a Live Arrival Guarantee claim, email hello@tropicalfishco.co.uk on the day of delivery with your order number, the affected animals and quantities, and clear photos of the problem and packaging. An unboxing video is optional. Do not delay necessary animal care to film or wait for our reply. Our team reviews the evidence under the current claim terms.
Avoid any fish that can fit the shrimp in its mouth and avoid every species known to be predatory. OATA states both exclusions directly. Freshwater shrimp may be eaten by common aquarium fish, so a general community-fish label is not enough to establish safety.
Screen each planned companion against the shrimp’s 1.27 cm adult length. The practical question is whether the other animal can treat a shrimp of that size as prey. Do not rely on peaceful marketing language, current juvenile size or behaviour observed with larger tank mates.
Compatibility remains uncertain until the exact species and aquarium conditions have been assessed. If a proposed companion’s adult mouth size or predatory behaviour is unclear, send us the complete stocking list and adult sizes before mixing it with the shrimp.
Never trial a known predator or a fish able to swallow the shrimp. A known predator or fish able to swallow the shrimp should not be introduced after adding more plants, changing feeding or increasing aquarium size. Extra shelter does not make a predator or a mouth-sized fish safe to keep with the shrimp.
Monitor interactions after any screened introduction. Increased hiding, altered activity, damage, lost appendages or reduced feeding should trigger immediate checks of the inhabitants and water conditions. Stop further additions while the cause is assessed.
Add livestock gradually. OATA explains that beneficial filter bacteria need to increase whenever more animals are introduced and feeding rises. Adding too much livestock too quickly can cause new tank syndrome, producing unhealthy ammonia and nitrite levels that may make shrimp ill or kill them.
Begin with a mature filtered aquarium, a settled stocking plan and zero readings for ammonia and nitrite. Add one planned stage, maintain the established feeding routine and test the water before proceeding. Do not use apparently normal behaviour as a substitute for water tests.
| If you see | Do this |
|---|---|
| Detectable ammonia or nitrite | Stop adding livestock and restore both readings to zero |
| Food accumulating after feeding | Reduce the next portion and remove continuing residue |
| Blocked or reduced filter flow | Check the filter and rinse media lightly in removed aquarium water if needed |
| More hiding, unusual activity or reduced feeding | Check companions, water values and recent changes |
| Predatory attention from a fish | Separate the incompatible animals rather than continuing the trial |
Watch every new pairing for more hiding, changed activity or lost appendages. The firm compatibility decision is predation risk: do not mix it with known predators or fish able to fit it in their mouth. Observe the actual animals while keeping that exclusion unchanged.
No named animal is a universal companion. Even where water values overlap, the final decision must include adult mouth size, feeding behaviour, aquarium volume, shelter, treatment safety and the filter’s ability to process the combined waste load.
Continue weekly testing after the community appears settled. A filter can process only the load supported by its bacterial population, and every increase in livestock or feeding changes that load. Staged stocking makes the cause of a water or behaviour change easier to identify.
The Harlequin Sponge Shrimp reaches 1.27 cm. Wikipedia gives that maximum for Caridina spongicola; plan the aquarium around the whole shrimp group and every companion, not one animal’s body length.
Use at least 10 litres for a group of small freshwater shrimp. The aquarium will need to be larger when fish are included, and OATA notes that the larger the aquarium, the more stable its temperature and water quality will be.
Plan a shrimp group because OATA says shrimp species usually are social. Choose a count that fits the mature filtered aquarium, use at least 10 litres for the group, and add members gradually so beneficial bacteria can adjust.
Have a mature filtered aquarium ready, test the water weekly, keep ammonia and nitrite at zero, keep copper out and exclude predators. Prepare those conditions before introducing the shrimp.
OATA’s freshwater-shrimp routine uses aquarium algae plus algae wafers or commercial shrimp pellets. Feed two or three times a week, leave food for at least 30 minutes and prevent uneaten food from accumulating.
OATA’s freshwater shrimp guidance gives 17–27°C, pH 6.5–8.0 and 4–18°dGH. Keep ammonia and nitrite at zero and keep nitrate from exceeding 20 mg per litre above normal tap-water levels.
Watch for changed aggression, hiding, activity or feeding, and keep predators and fish able to swallow the shrimp out of the aquarium.
OATA says freshwater shrimp are generally compatible with most species in the aquarium, but avoid known predators and any fish able to fit the shrimp in its mouth. Screen each exact companion before mixing.
The Tropical Fish Co policy says it is hand-bagged in pure oxygen and placed in an insulated box, with a heat pack when weather calls for it. Inspect the parcel on the day it arrives. For a Live Arrival Guarantee claim, email hello@tropicalfishco.co.uk on the day of delivery with your order number, the affected animals and quantities, and clear photos of the problem and packaging. An unboxing video is optional. Do not delay necessary animal care to film or wait for our reply. Our team reviews the evidence under the current claim terms. Float the bag for 20–30 minutes before release.
No reviews for this item yet. Bought one? Honest reviews only, good or bad.
What customers say about ordering from us
Easy website plenty of info on fish your buying great to pick a time slot
TRACEY DURRANT · 7 Oct 2026
Got some lovely fish thank you
Kevin Mackie · 7 Oct 2026
Reviews of our shop, collected by Judge.me, an independent third-party review collector. Newest first.